Inviting Team Members: Setting Up Collaborative Workspaces


Set up team collaboration in Agrello by inviting members, assigning roles, and organizing workspace access. Choose from Starter, Team, or Custom plans based on team size.
Agrello workspaces let your entire team collaborate on contracts. Choose the plan that fits your team size—from individual users to teams of 10 or more. Invite colleagues, assign roles, and start working together immediately.
What Is a Workspace
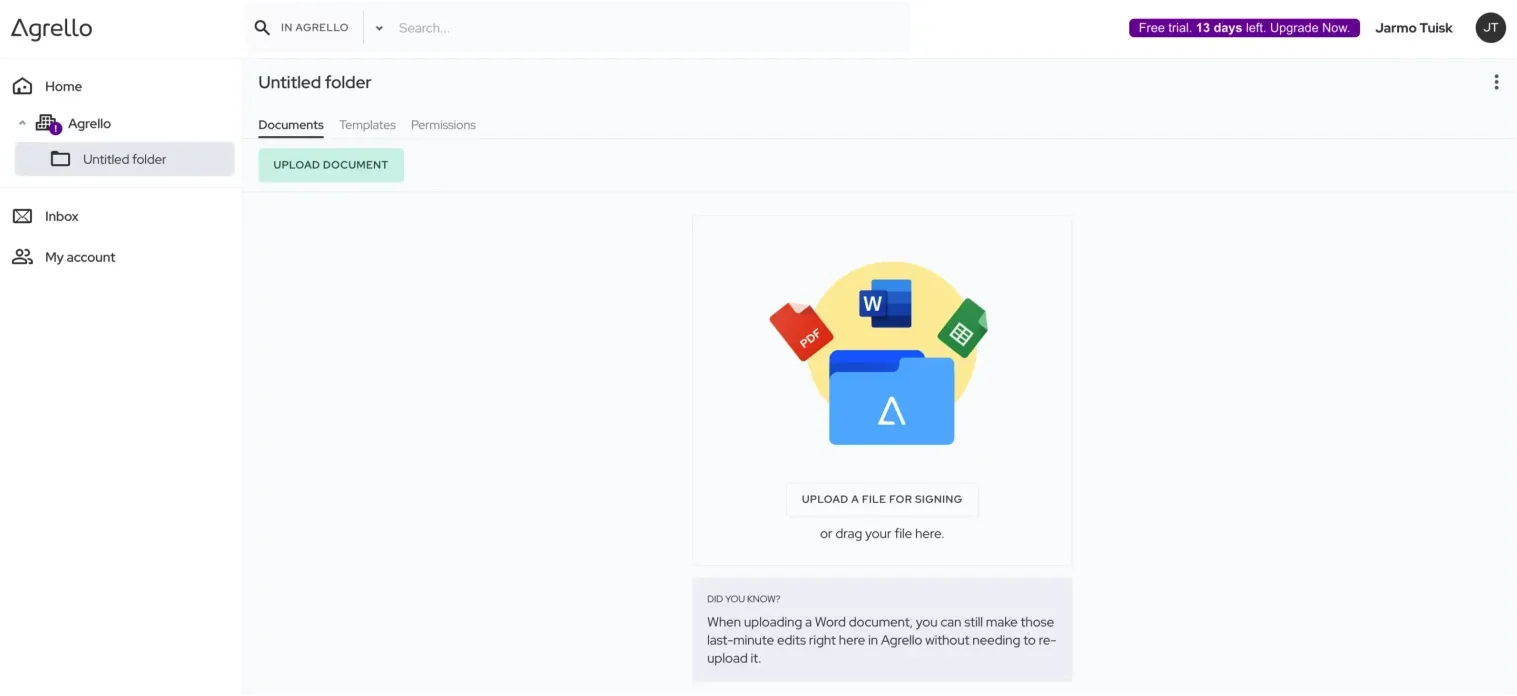
A workspace is your team's shared hub for creating and managing contracts. All team members work in one place with shared templates, folders, and documents.
Flexible pricing for teams. Agrello offers user-based pricing plans: the Starter plan at €19.90 per user/month (includes 50 docs/month), or the Team plan at €99/month for up to 10 users (includes 500 docs/month). Need more capacity? Contact Agrello for custom enterprise pricing with unlimited users and documents.
This scalable approach works for teams of all sizes. Start with what you need and expand as you grow—from solo entrepreneurs using the Starter plan to large teams leveraging custom enterprise solutions.
Your workspace organizes everything:
- Folders for departments, projects, or clients (HR, Sales, Legal folders)
- Team members with specific roles and permissions
- Shared templates everyone can use
- Documents tracked from creation to expiry
Inviting Team Members
Access team settings. Click the gear icon, then the Team tab.
Add members one at a time:
- Click "Add member"
- Enter their email address
- Assign a workspace role (Owner, Administrator, or Member)
- Send invitation
Your team member receives an email invitation. They click the link, accept, and gain immediate access. No waiting for admin approval or account setup.
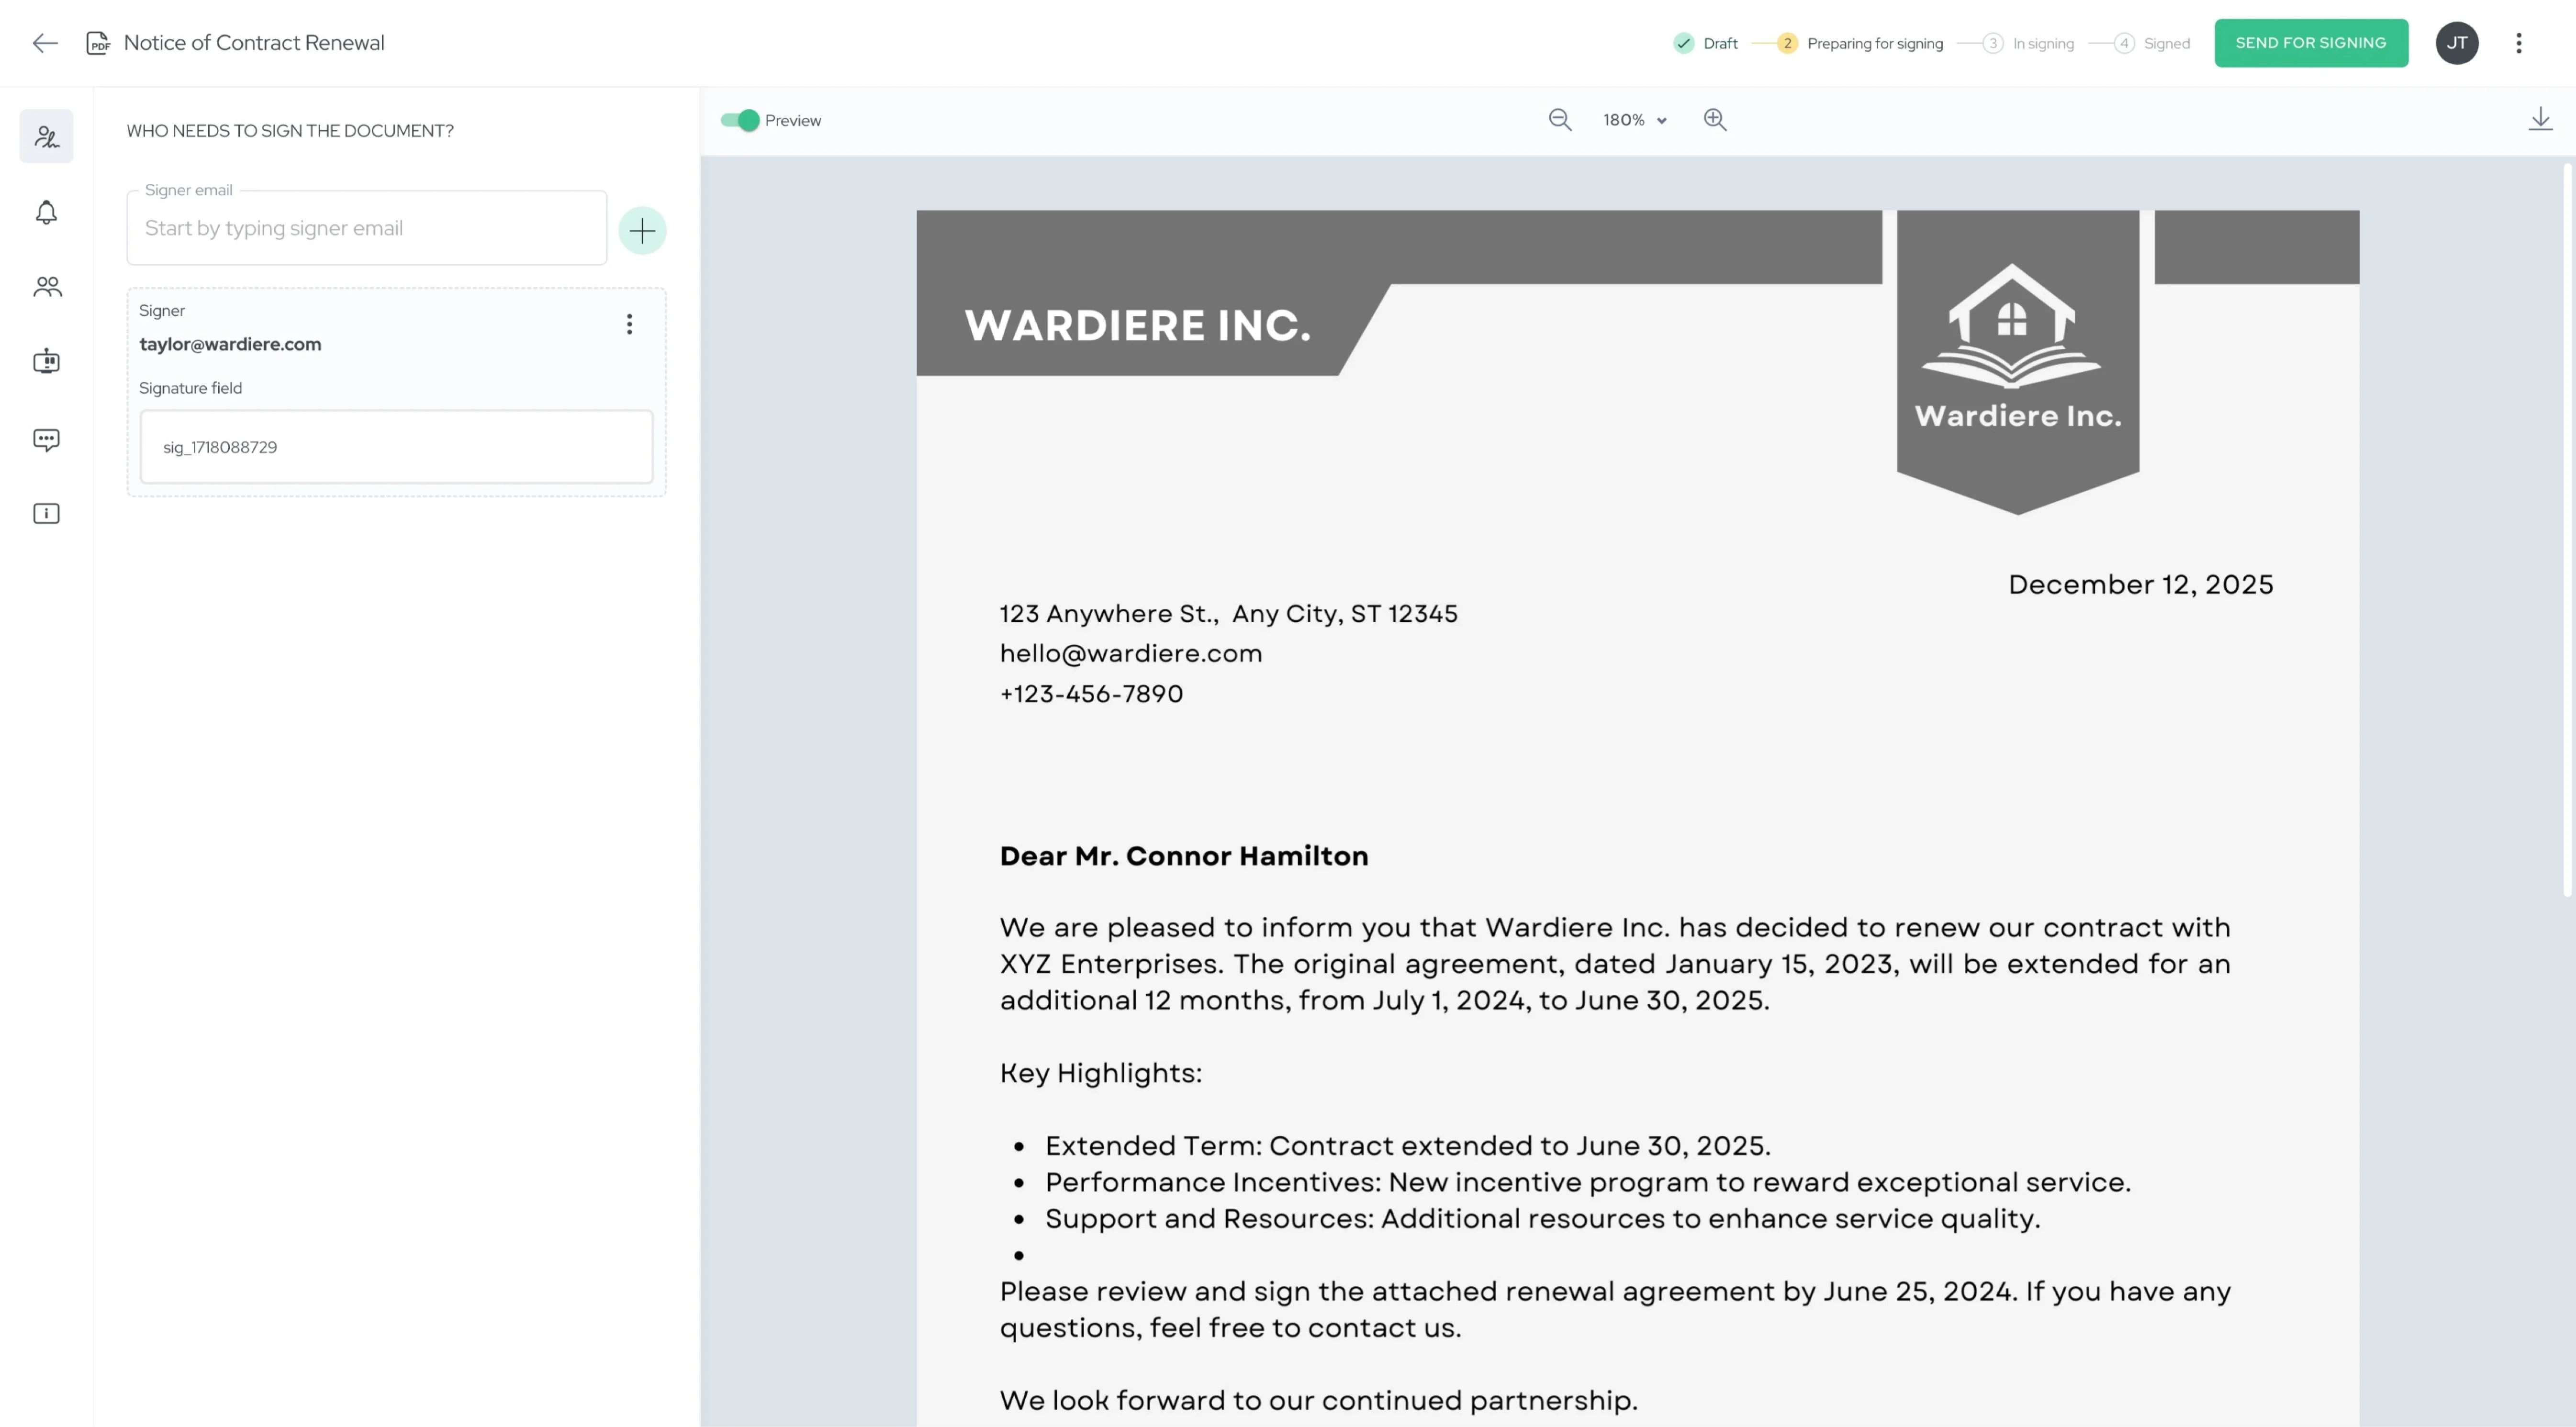
If they don't have an Agrello account, they create one during invitation acceptance. Takes 2 minutes. If they already use Agrello, they add your workspace to their existing account.
Automatic workspace membership: When you invite someone to collaborate on a folder, they automatically become a workspace member. No separate "add to workspace" step needed.
Understanding Workspace Roles
Three workspace-level roles control what team members can do:
Owner
Full control over everything. Owners manage:
- Subscription and billing
- Workspace settings (name, logo, branding)
- All team members (invite, remove, change roles)
- All folders and documents
- Templates and workflows
Assign Owner role to your business owner, IT administrator, or billing contact. Usually one owner per workspace.
Owners can transfer ownership to another member if needed. The new owner gains billing access, and the previous owner becomes an Administrator or Member.
Administrator
Manages team workflows without billing access. Administrators can:
- View all folders in the workspace
- Add members to folders
- Grant Editor or Viewer permissions
- Create and share templates
- Manage documents across all folders
Cannot manage subscription, billing, or workspace deletion. These stay with Owners.
Assign Administrator role to department heads, team leads, or office managers who coordinate workflows across multiple teams.
Member
Works in assigned folders only. Members can:
- Access folders they're invited to
- Create and manage documents in those folders
- Use shared templates
- Collaborate through comments
Cannot see other folders, add team members, or access workspace settings.
Assign Member role to individual contributors: HR coordinators, sales reps, specialists. Anyone who needs folder-specific access without workspace-wide visibility.
Organizing Your Workspace
Start with folder structure. Create folders for:
- Departments: HR (employment contracts), Sales (customer agreements), Finance (loans)
- Projects: Client A contracts, Project X documents
- Document types: NDAs, vendor agreements, real estate contracts
Invite members to specific folders. When adding someone to a folder, grant them:
- Editor permission: Create, edit, send documents
- Viewer permission: Read-only access, cannot modify
This two-layer system (workspace role + folder permission) gives precise control. A Member with Editor permission on the Sales folder manages customer contracts but cannot access HR employment agreements.
Share templates workspace-wide. Templates in the workspace library are available to all team members. This ensures consistency—everyone uses the same NDA template, the same employment agreement format.
Common Setup Scenarios
Small business (5-10 people): One workspace with folders for each function. Owner manages billing, everyone else as Members with Editor permissions on relevant folders.
Department team: HR team with dedicated workspace. HR Director as Owner, recruiters as Administrators (see all employment folders), coordinators as Members (access specific hiring folders).
Growing company: Start with basic folder structure. Add team members as you grow. Reorganize folders when needed. Upgrade from Starter to Team plan when you reach 10 users, or contact Agrello for custom enterprise pricing as your organization scales.
External collaborators: Invite contractors or consultants as Members. Grant access only to their project folders. Remove access when project completes.
Managing Team Members
View your team: Settings → Team tab shows all members with their roles and join dates.
Change roles: Click any member, select new role from dropdown, save. Takes effect immediately.
Remove members: Select member, click Remove, confirm. They lose access right away. Their created documents remain in the workspace.
Reactivate former members: Send a new invitation. They can rejoin, but you must reassign their role and folder permissions.
Best Practices
Assign roles thoughtfully. Most team members should be Members with Editor permissions on specific folders. Reserve Administrator role for true cross-functional coordinators.
Invite members strategically. Plan your team size to match your subscription. The Team plan supports up to 10 users, while the Starter plan charges per user. Invite those who actively need contract access.
Organize folders before inviting. Set up clear folder structure first. Then invite members to appropriate folders. This prevents confusion about where documents belong.
Document your structure. Write down which folders exist and what they're for. Share with team members so everyone knows where to create documents.
Review permissions quarterly. Check team list every few months. Remove former employees. Update roles as responsibilities change.