What You'll Learn in This Guide
This article walks you through every practical method for adding an electronic signature in Word documents, from the built-in signature line feature to a full digital signature workflow. You'll learn which approach fits different use cases, how to keep your signed files legally sound, and how reusable templates can cut repetitive steps for your entire team.
Whether you're an HR specialist processing dozens of employment agreements or a sales coordinator sending proposals, you'll leave with a clear, repeatable process. Let's get into it.
Why Teams Still Struggle with Signing Word Documents
Most professionals know Word inside and out for drafting, but the signing step is where things fall apart. Documents get emailed back and forth, someone forgets to sign page two, or a manager is out of office with no way to approve remotely.
Here's what usually goes wrong:
-
Manual printing wastes time and paper, especially across distributed teams
-
Scanned signatures produce low-quality images that look unprofessional
-
Version confusion multiplies when multiple signers edit the same file
-
No audit trail means you can't prove when or whether someone actually signed
The good news? Word has native tools for electronic and digital signatures. And when you pair those tools with a template-driven signing workflow, most of these headaches disappear.
Understanding the Difference: Electronic vs. Digital Signatures
Before you pick a method, it helps to know what you're actually adding to your document. The terms "electronic signature" and "digital signature" get used interchangeably, but they work differently.
-
An electronic signature is any mark, image, or typed name that indicates intent to sign. Think of pasting a signature image or typing your name on a signature line. It's simple and works for most internal documents.
-
A digital signature uses certificate-based encryption to verify the signer's identity and protect the document from tampering after signing. It's the more secure option, ideal for contracts, compliance documents, or anything with legal weight.
For a comprehensive breakdown of how electronic and digital signatures differ in security and compliance, see What’s the difference between electronic and digital signatures?.
Both are valid for signing Word documents. Your choice depends on how much security and verification you need.
Insert a Signature Line in Word
Based on real-world document workflows used by growing teams, the right signing method usually depends on three things: document sensitivity, signer volume, and how often the process repeats. This is the fastest way to add a signable field directly inside your document. It works in Word for Microsoft 365, Word 2019, and Word 2016.
To insert a signature line in Microsoft Word, click where you want the line, select Insert > Signature Line, and then select Microsoft Office Signature Line. A dialog box will appear where you can fill in signer details.
Configuring the Signature Line Details
When the Signature Setup box opens, enter the following:
-
Suggested signer: the full name of the person who needs to sign
-
Suggested signer's title: their job title (e.g., HR Manager, Sales Director)
-
Suggested signer's email address: helps identify the signer if the document is shared
-
Instructions to the signer: any notes about what they're agreeing to
Click OK, and Word places a signature line with an "X" marker where the signer will add their signature. The signer can double-click this line to type, draw, or insert an image of their signature.
If you’d like a detailed walkthrough of this and other techniques - including advanced digital signature options - see How to create a digital signature in Microsoft Word.
This method is great for straightforward documents like offer letters, NDAs, or internal approval forms. It keeps everything inside Word without needing third-party software.
Add a Digital Signature for Extra Security
When you need tamper protection or certificate-based verification, Word's built-in digital signature feature is the way to go.
To add a digital signature in Microsoft 365 files using Word, go to the File tab, select Info, select Protect Document, select Add a Digital Signature, and follow the prompts. You'll need a signing certificate, which you can get from a trusted certificate authority or your organization's IT team.
What a Digital Signature Actually Does
Once applied, the digital signature:
-
Confirms the signer's identity through a certificate
-
Locks the document so any changes after signing invalidate the signature
-
Adds a visible or invisible signature depending on your settings
-
Creates a verifiable record that the document was signed at a specific time
This is the right choice for contracts with external partners, regulated industries, or any scenario where you need to prove document integrity later.
Keep in mind that once a digital signature is applied, the document becomes read-only. Make sure all edits are finalized before the signing step.
Use a Signature Image for Quick, Informal Signing

Not every document needs certificate-level security. For internal memos, team acknowledgments, or low-stakes approvals, pasting a signature image works fine.
Here's how:
-
Sign your name on white paper and take a clear photo, or use a tablet to create a signature file
-
Save the image as a PNG with a transparent background for a clean look
-
In Word, click Insert > Pictures, then select your signature file
-
Resize and position it on the signature line or at the bottom of the document
For more practical details and additional options, see How to Turn My Handwritten Signature Into a Digital One.
Tips for a Clean Signature Image
-
Crop tightly around the signature so there's no extra white space
-
Use PNG format rather than JPEG to keep edges sharp
-
Save the image somewhere accessible so you can reuse it across documents
This approach is fast but offers no verification or tamper protection. Use it only when the signing context is informal.
Streamline Repeated Signing with Templates
If your team signs the same types of documents regularly, building a template saves enormous amounts of time. Organizations handling recurring agreements at scale rarely rely on standalone Word files alone. In practice, high-performing teams combine reusable templates, centralized approval tracking, and automated reminders to reduce delays and signing errors. Think employment contracts, vendor agreements, service-level agreements, or recurring internal approvals.
Here's how to create a reusable Word signing template:
-
Start with your finalized document and insert signature lines where needed (Step 1)
-
Add placeholder text for variable fields like names, dates, and amounts
-
Save the file as a Word Template (.dotx) via File > Save As
-
Store it in a shared location so your team can access and fill it out each time
When Templates Aren't Enough
Word templates handle document creation well, but they don't manage the signing workflow itself. You still need to email the document, track who signed, and chase down missing signatures manually.
This is where a smart signing solution makes a difference. Leveraging platforms that enable automated document sending and template-driven workflows can help your team manage the full process efficiently.
For teams that prepare contracts or agreements in Word but want to eliminate the manual follow-up, connecting your Word templates to a dedicated signing platform removes the bottleneck between drafting and getting a signature back.
Send and Track Your Signed Documents
After adding a signature, you need a reliable way to share the document and confirm receipt.
Here's a simple checklist:
-
Save the signed document as a PDF to preserve formatting and prevent accidental edits
-
Use a clear file naming convention (e.g., "Contract_ClientName_Signed_2025-06-20")
-
Email or share the PDF through your document management system
-
Store a copy in your records with the date and signer information noted
Keeping an Audit Trail
For documents with legal or compliance significance, make sure you can answer these questions later:
Digital signatures (Step 2) answer all three automatically. For electronic signatures without certificates, keep email confirmations and timestamps as supporting evidence.
To see how modern tracking tools and AI can boost your visibility - and create audit trails automatically - see How Can AI Track Document Signing and Approval Activity?.
A consistent process here protects your organization and makes retrieval straightforward during audits or disputes.
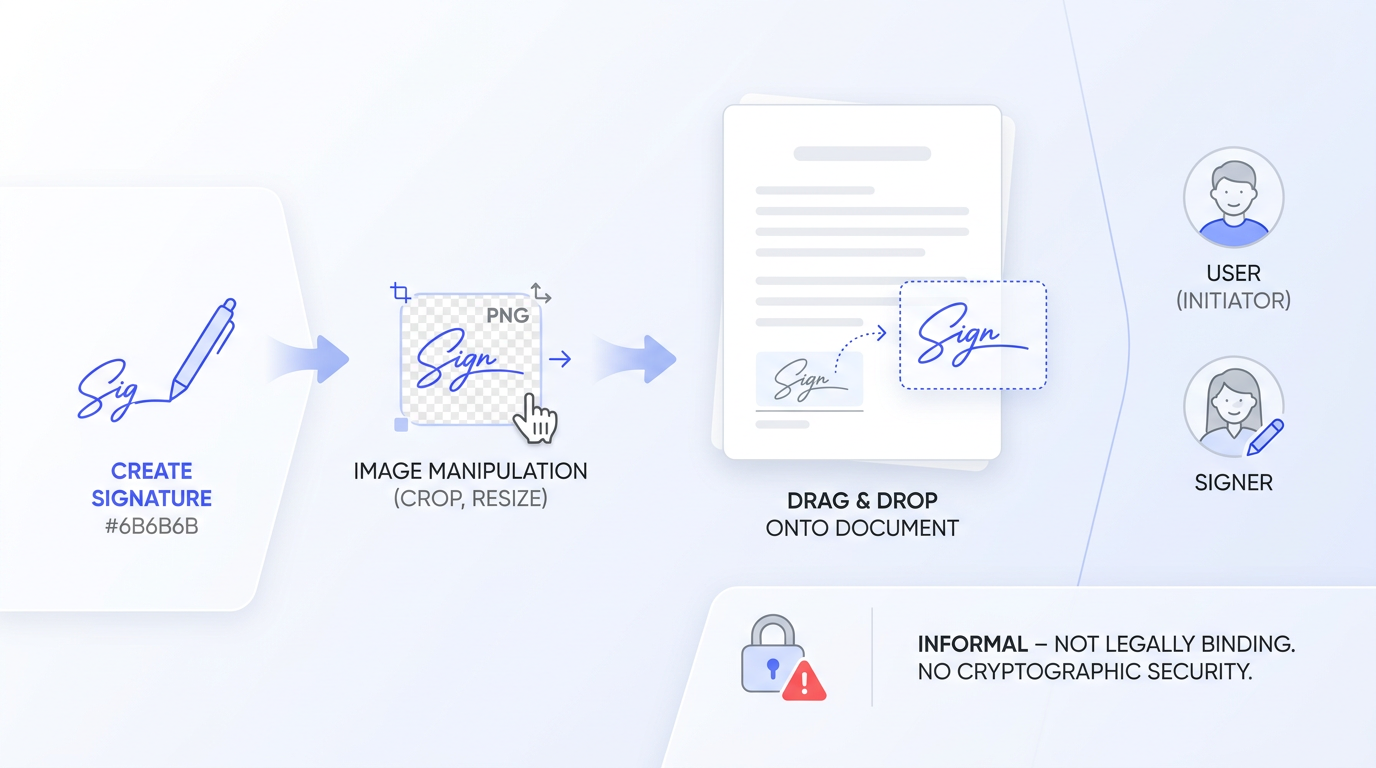
Adding an Electronic Signature in Word
To add an electronic signature in a Word document: open your file in Microsoft Word, place your cursor where the signature should go, click Insert > Signature Line > Microsoft Office Signature Line, fill in the signer's details, and click OK. The signer can then double-click the line to sign by typing, drawing, or inserting a signature image. For stronger security, use File > Info > Protect Document > Add a Digital Signature to apply a certificate-based digital signature that locks the document after signing.
Conclusion
Adding an electronic signature in Word is relatively easy. Creating a signing process that stays fast, secure, and manageable as your business grows is the real challenge. The teams that handle document approvals efficiently are not just inserting signatures into files. They're standardizing workflows, reducing manual follow-ups, improving visibility into signing status, and making it easier for employees, clients, and partners to complete documents without delays.
For simple internal approvals, Word's built-in signature tools may be enough. But as document volume increases, reusable templates, digital verification, audit trails, and automated signing workflows become far more important than the signature itself.
The goal is not simply to sign documents faster. It's to build a process your team can rely on consistently - one that reduces friction, supports compliance, and keeps business moving without unnecessary bottlenecks.