This tutorial will teach you how to create a document and get it ready to be sent for signing in Agrello.
Go to a folder in your workspace and click on the green “Upload document” button. It will open a dialog to choose the file for signing.

You also have the option of easily uploading a document by simply dragging and dropping it into the folder.
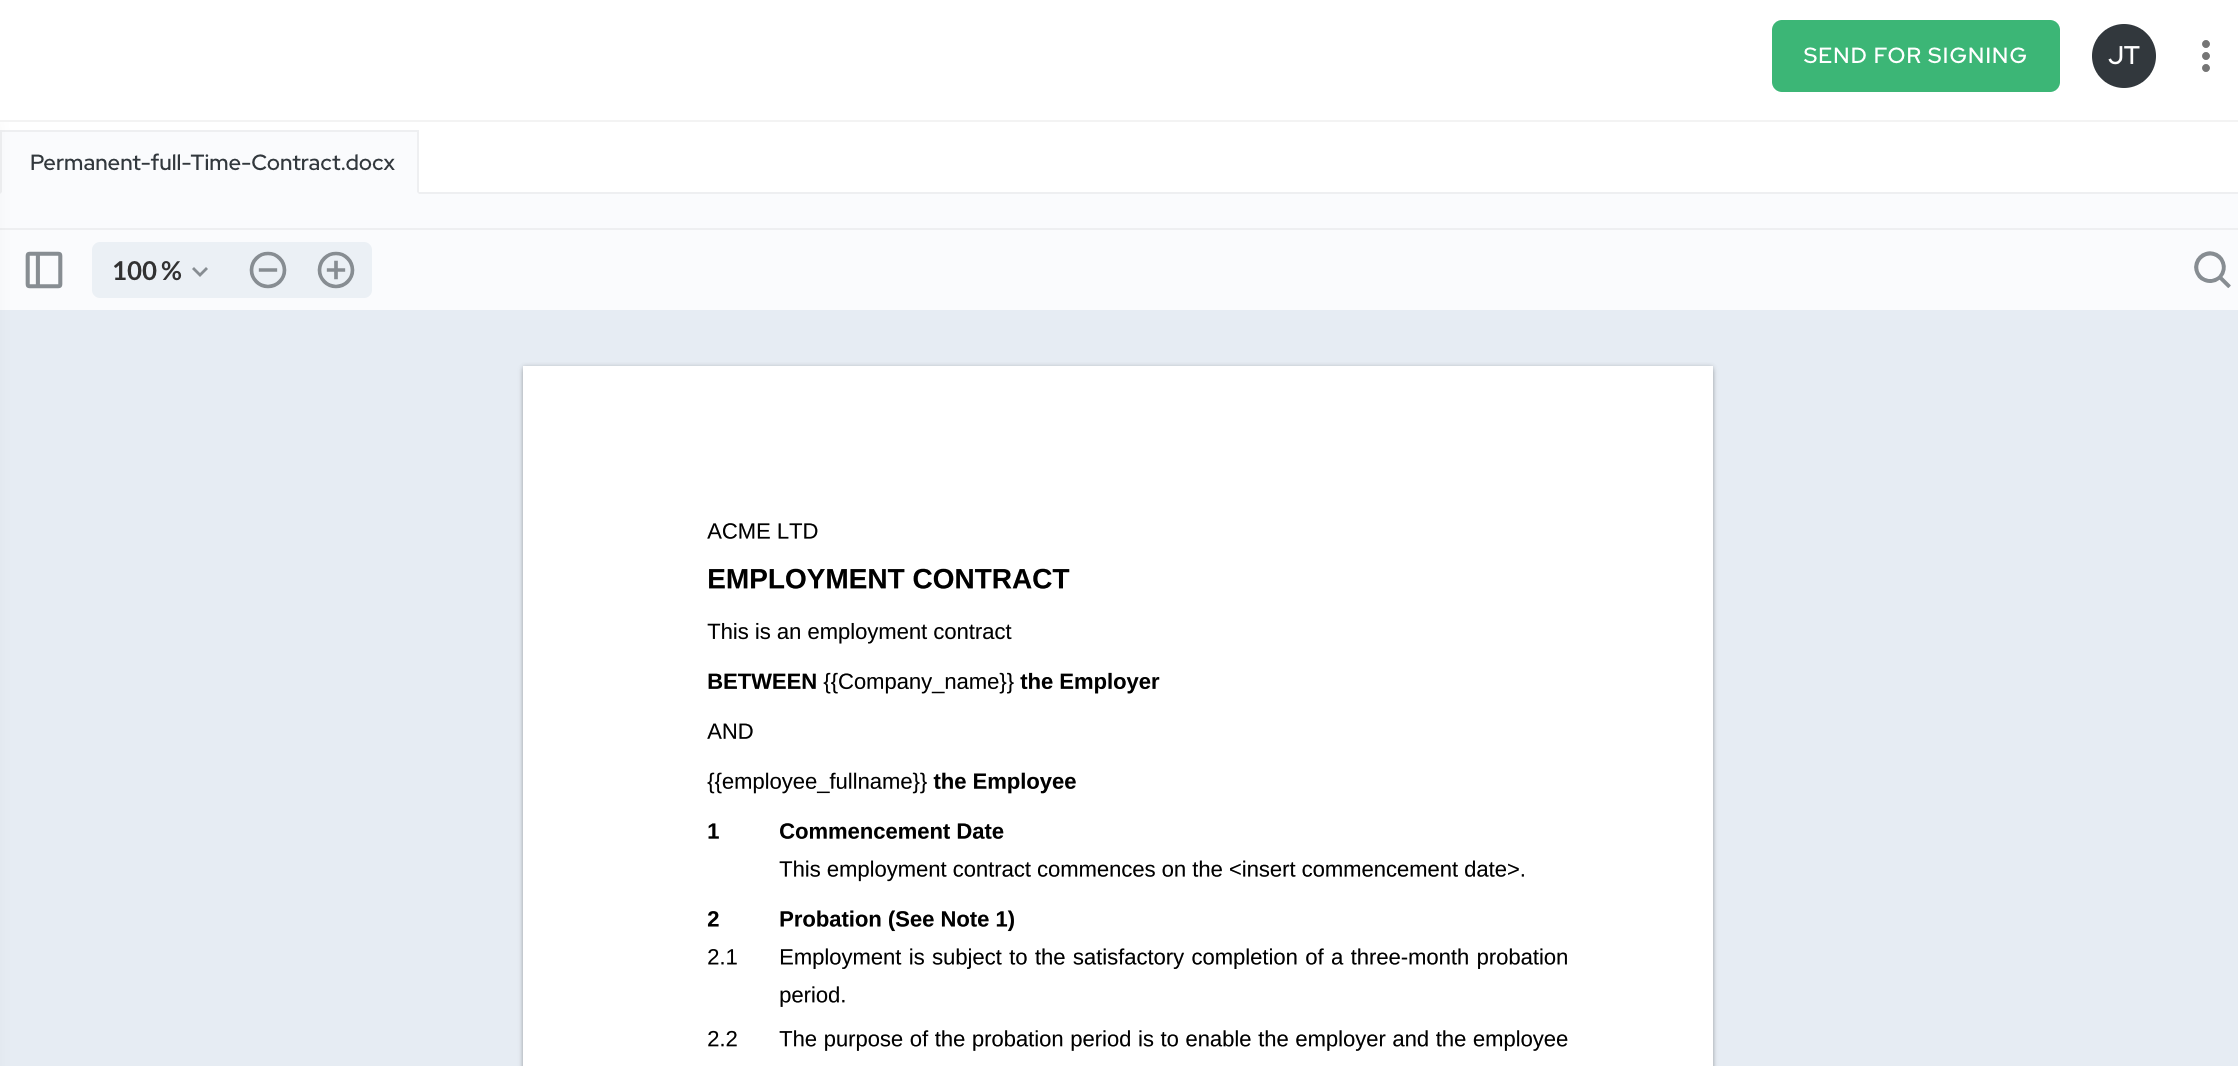
Once you have successfully uploaded a document, a preview will be opened. To proceed with the signing preparation process, click on the "Approve for signing” button.
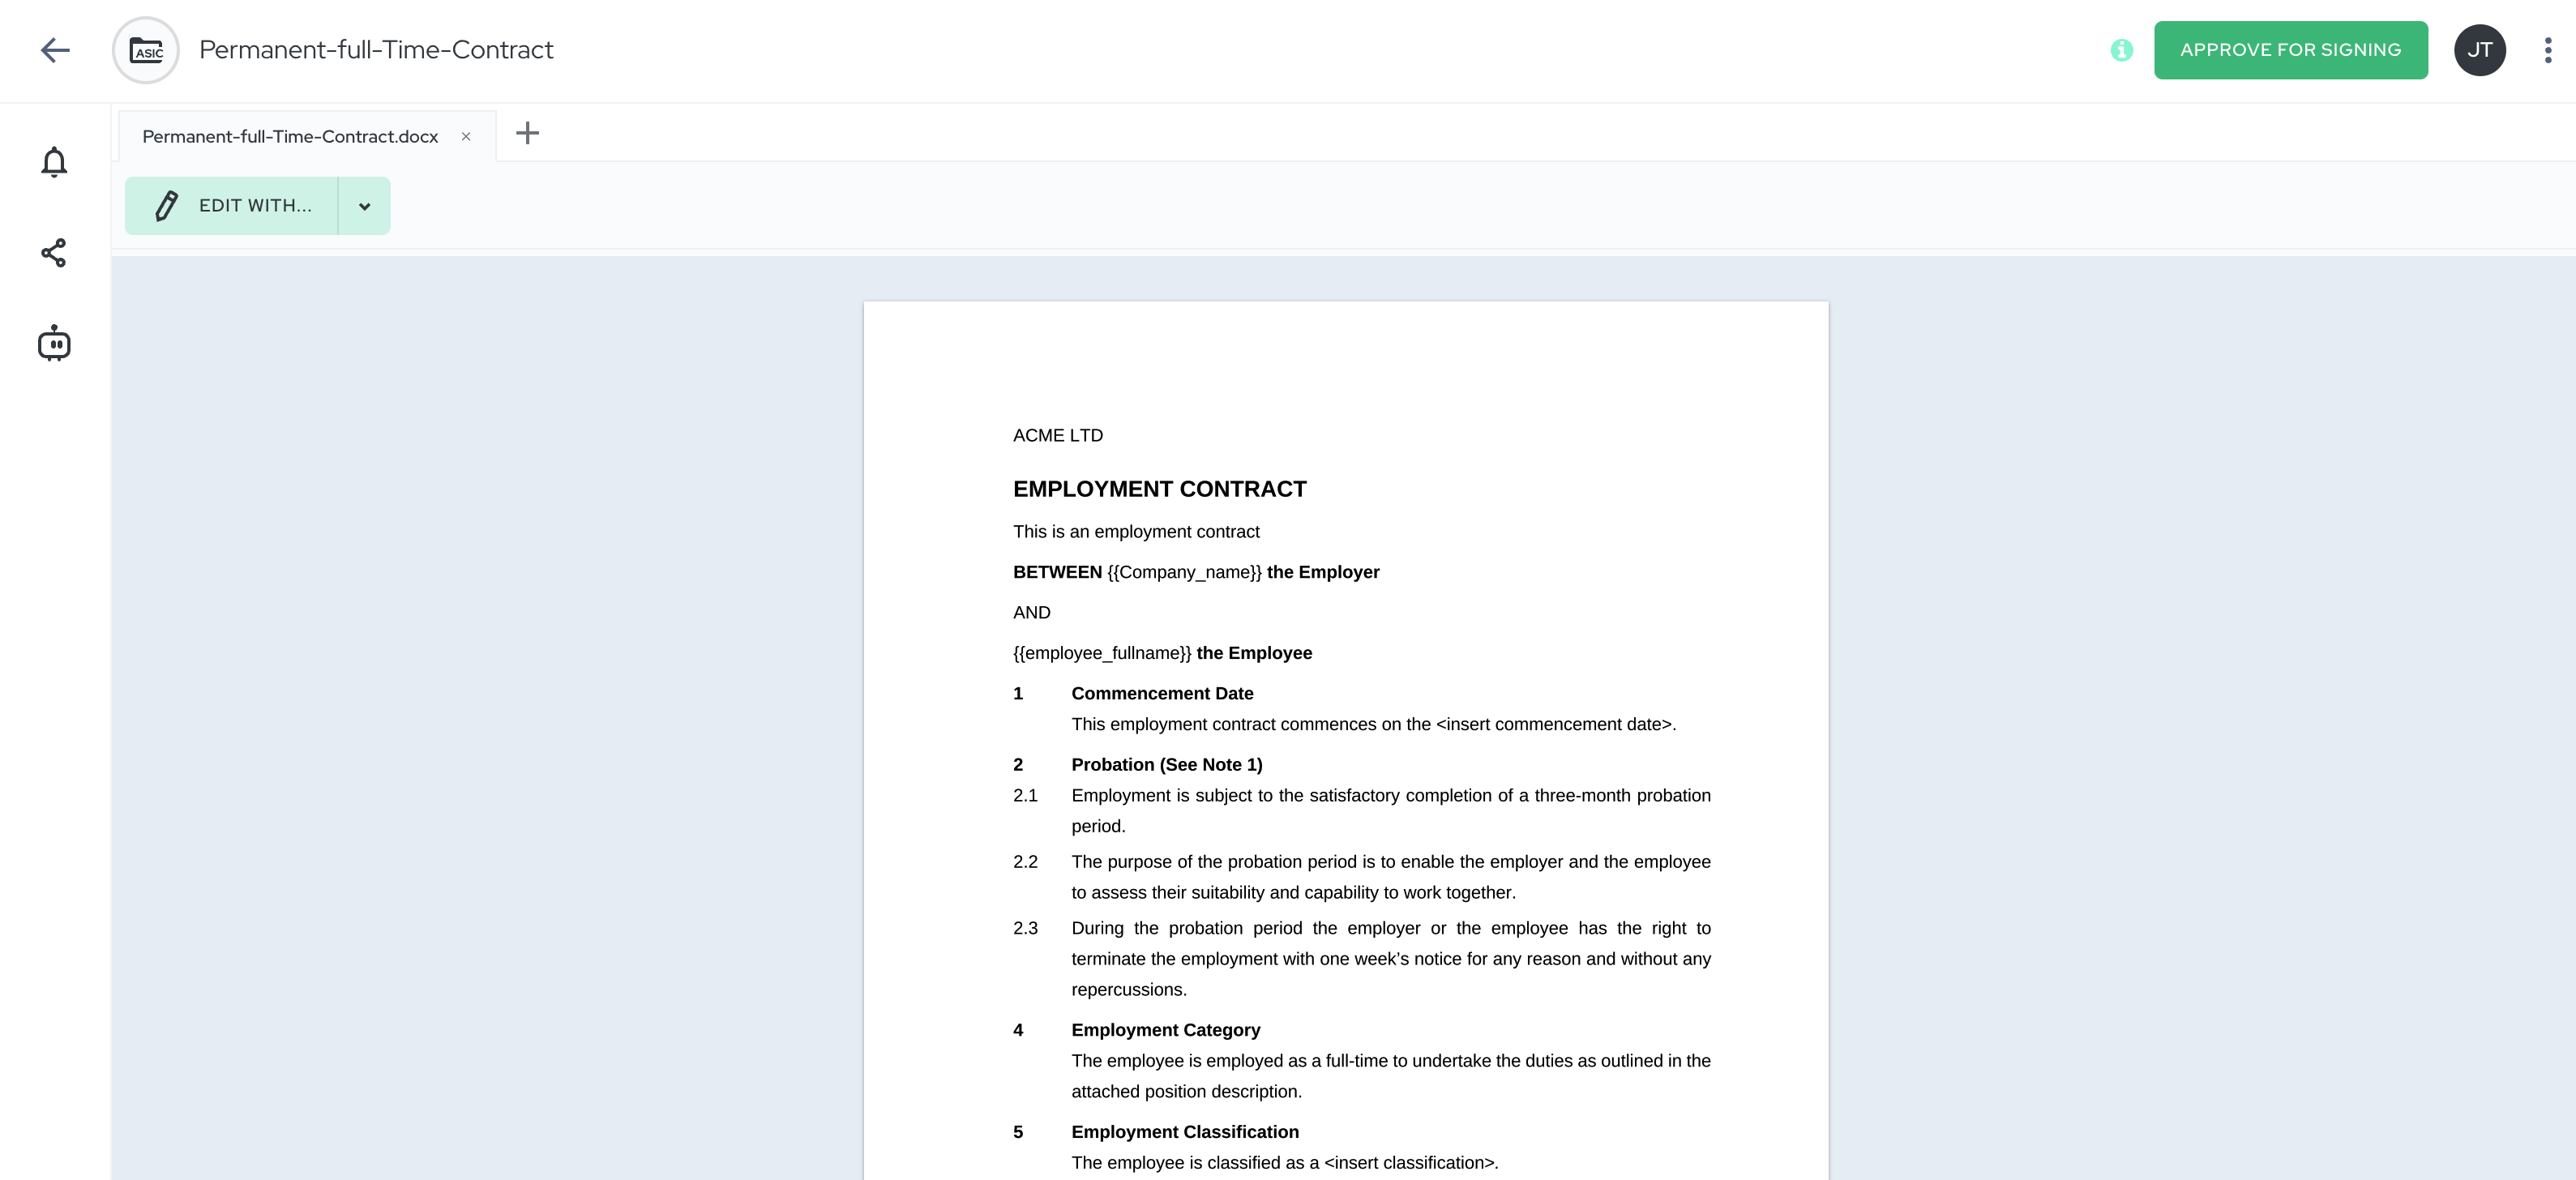
You can make last-minute edits directly within Agrello by clicking on the “Edit" button on the left side, which will open the built-in Word document editor.
When you click on the “Approve for signing" button, a dialog box will appear, prompting you to select the e-signing output format.
You have two options to choose from:
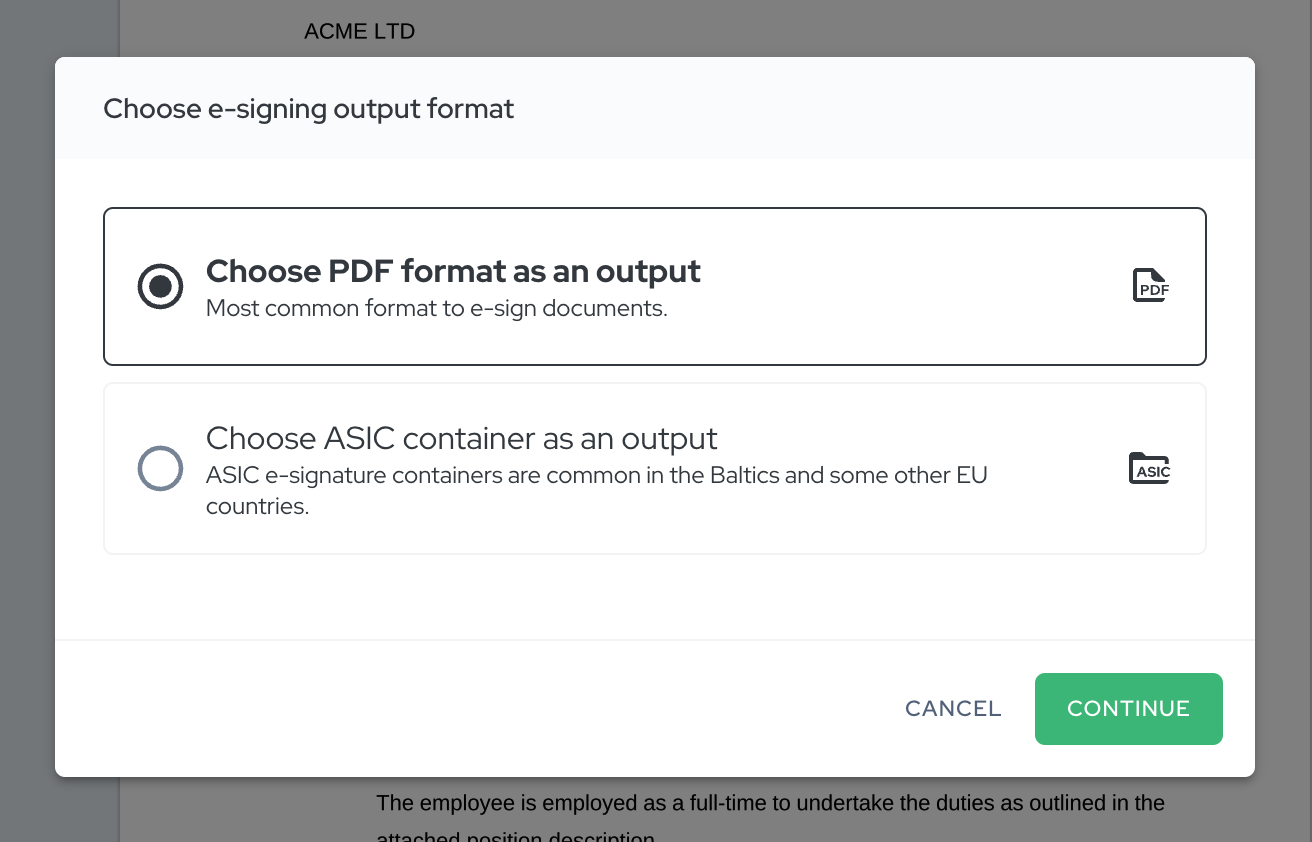
You can find more information about different formats by clicking here.
Here's a quick video summarizing the key steps in preparing a document for signing:
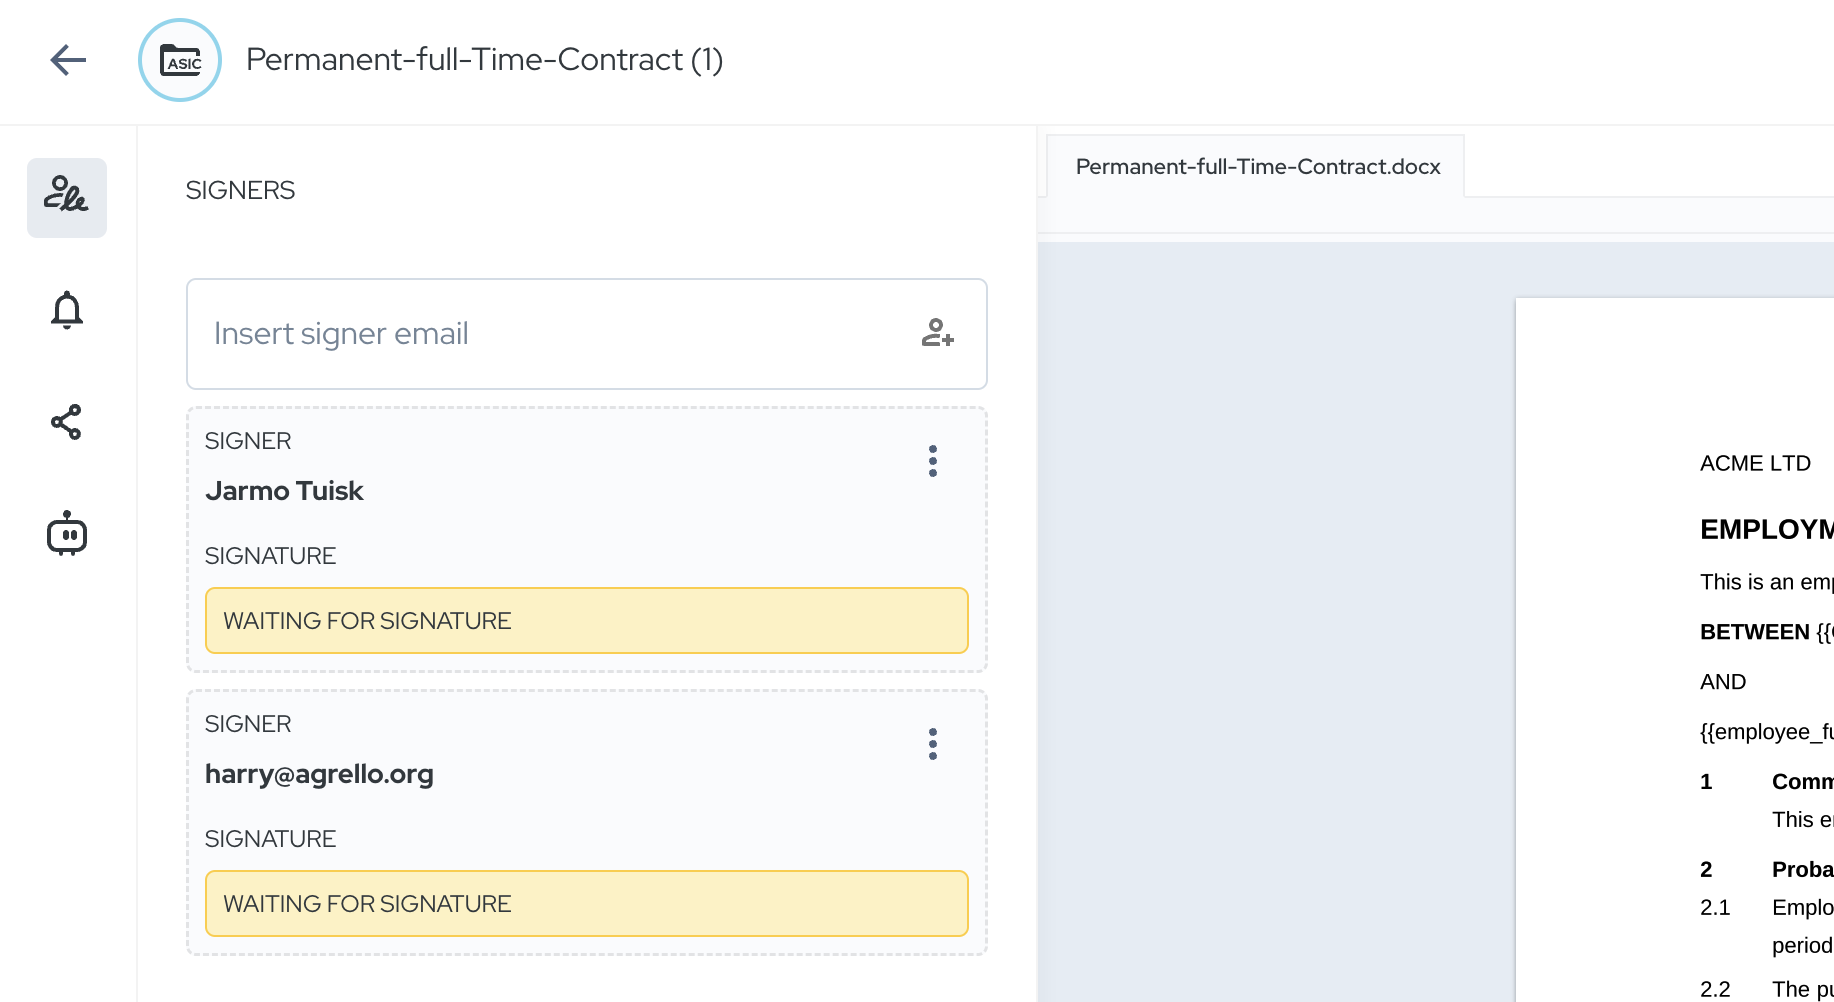
To add signers to the document, simply enter their email addresses in the top-left text field.
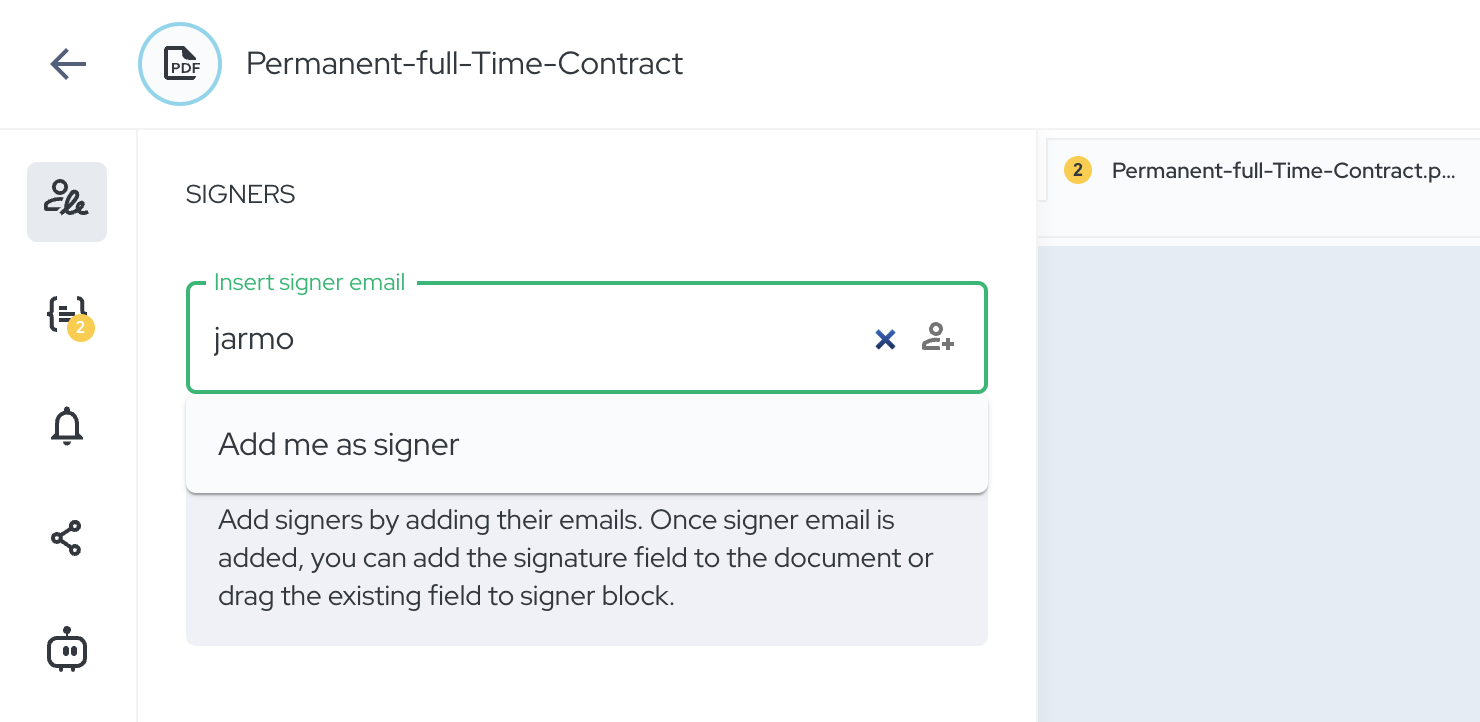
There is also a shortcut to quickly add yourself as a signer.
Once you have successfully added the signer emails, you will see the signer cards displayed below the text field.
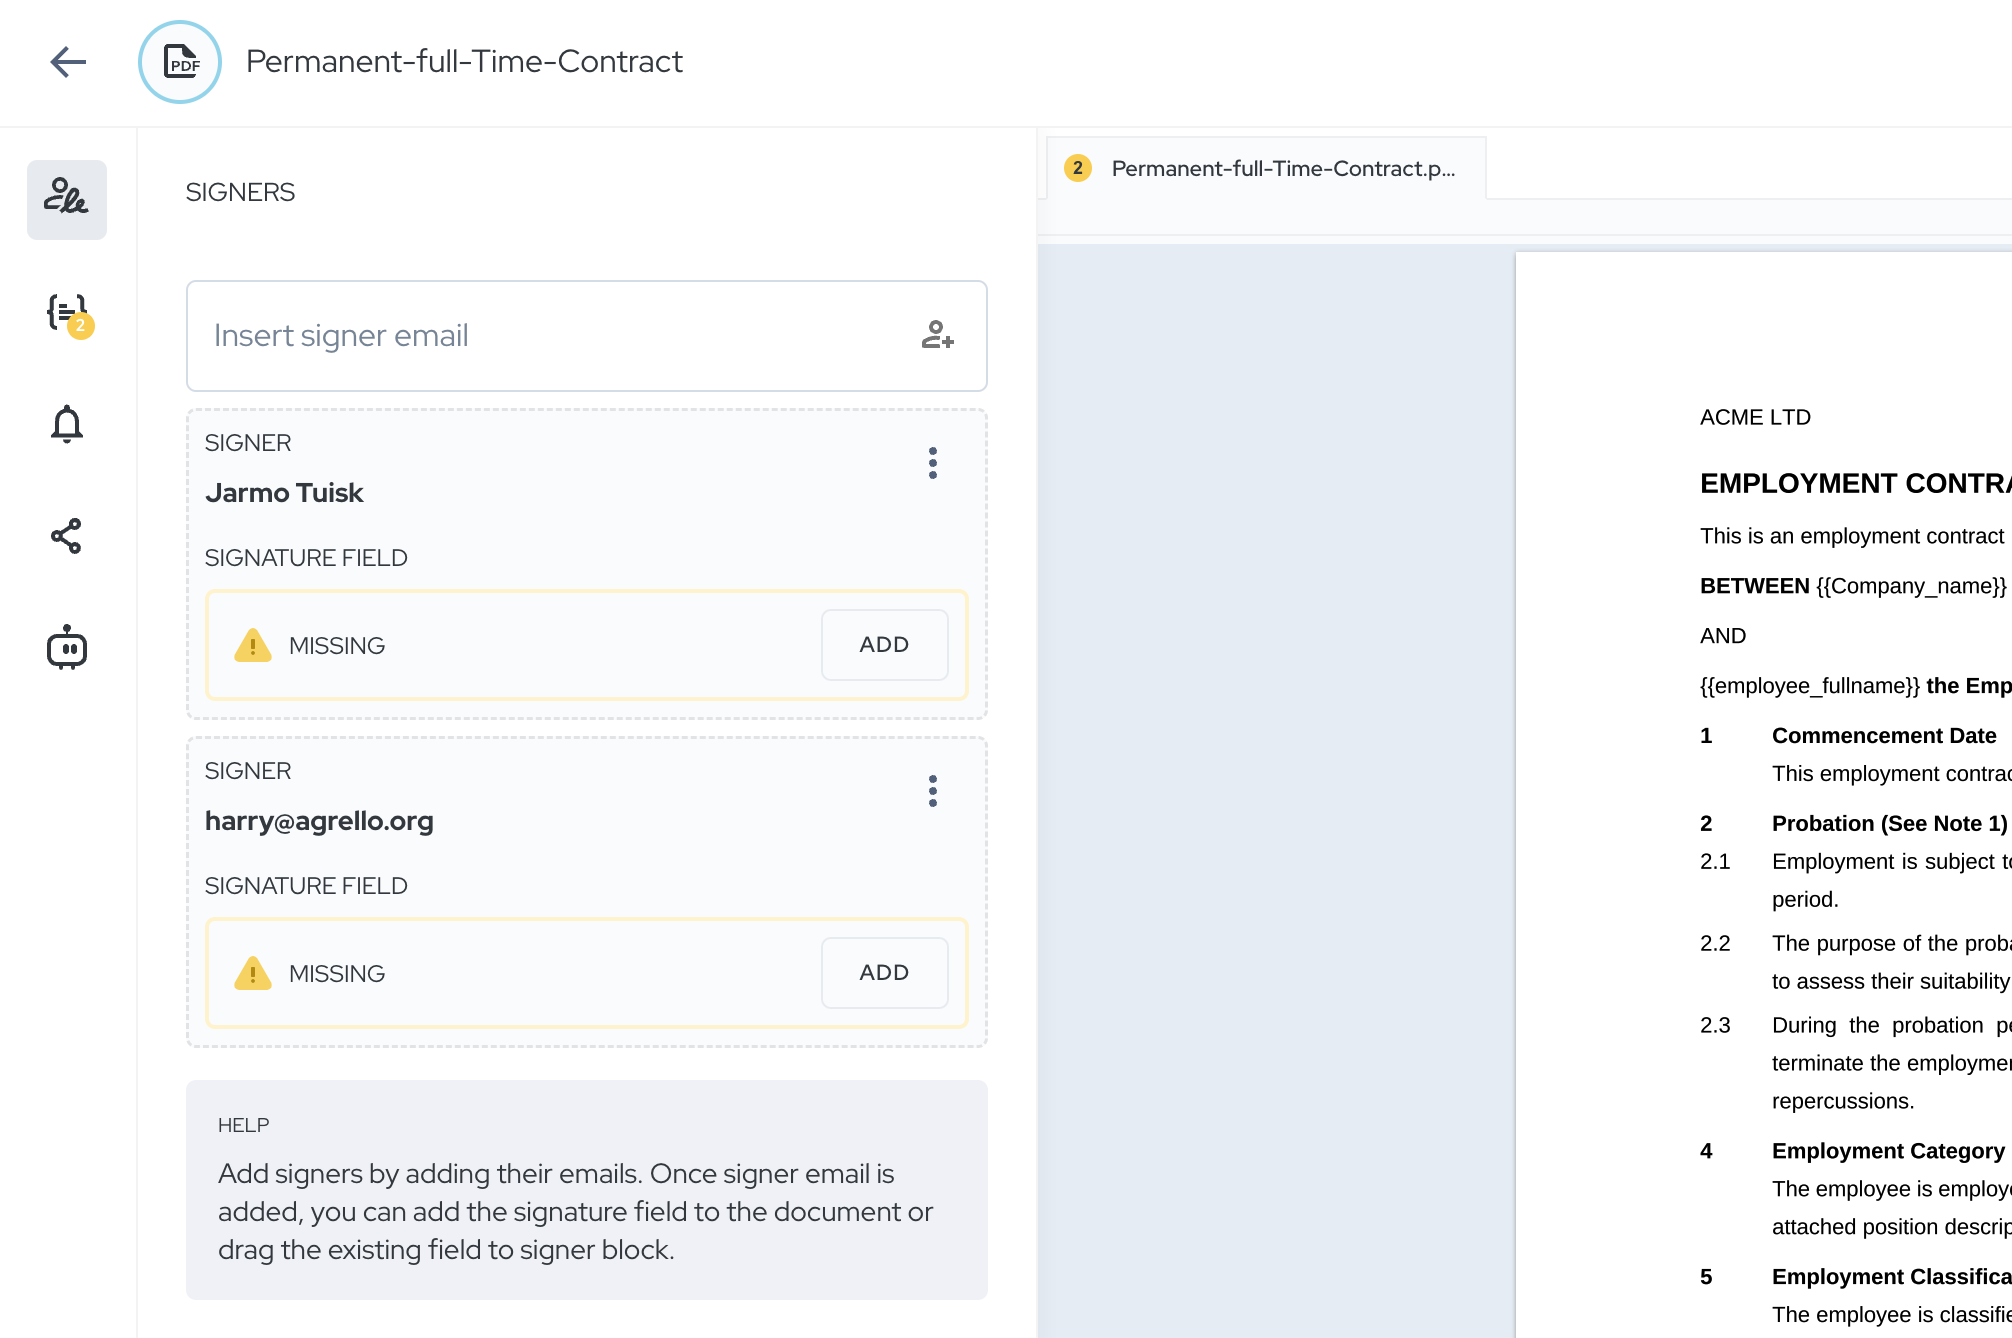
To have the signature appear on the PDF document, you need to add signature fields. Click on the “Add" button on the respective signer card.
After clicking on "Add,” new rectangles will appear on the document view. You can then drag these rectangles to the correct positions.

In the case of an ASIC container, there is a different approach to signer management. You do not need to definer the signature fields in the document. Simply add the signer emails and that’s it.
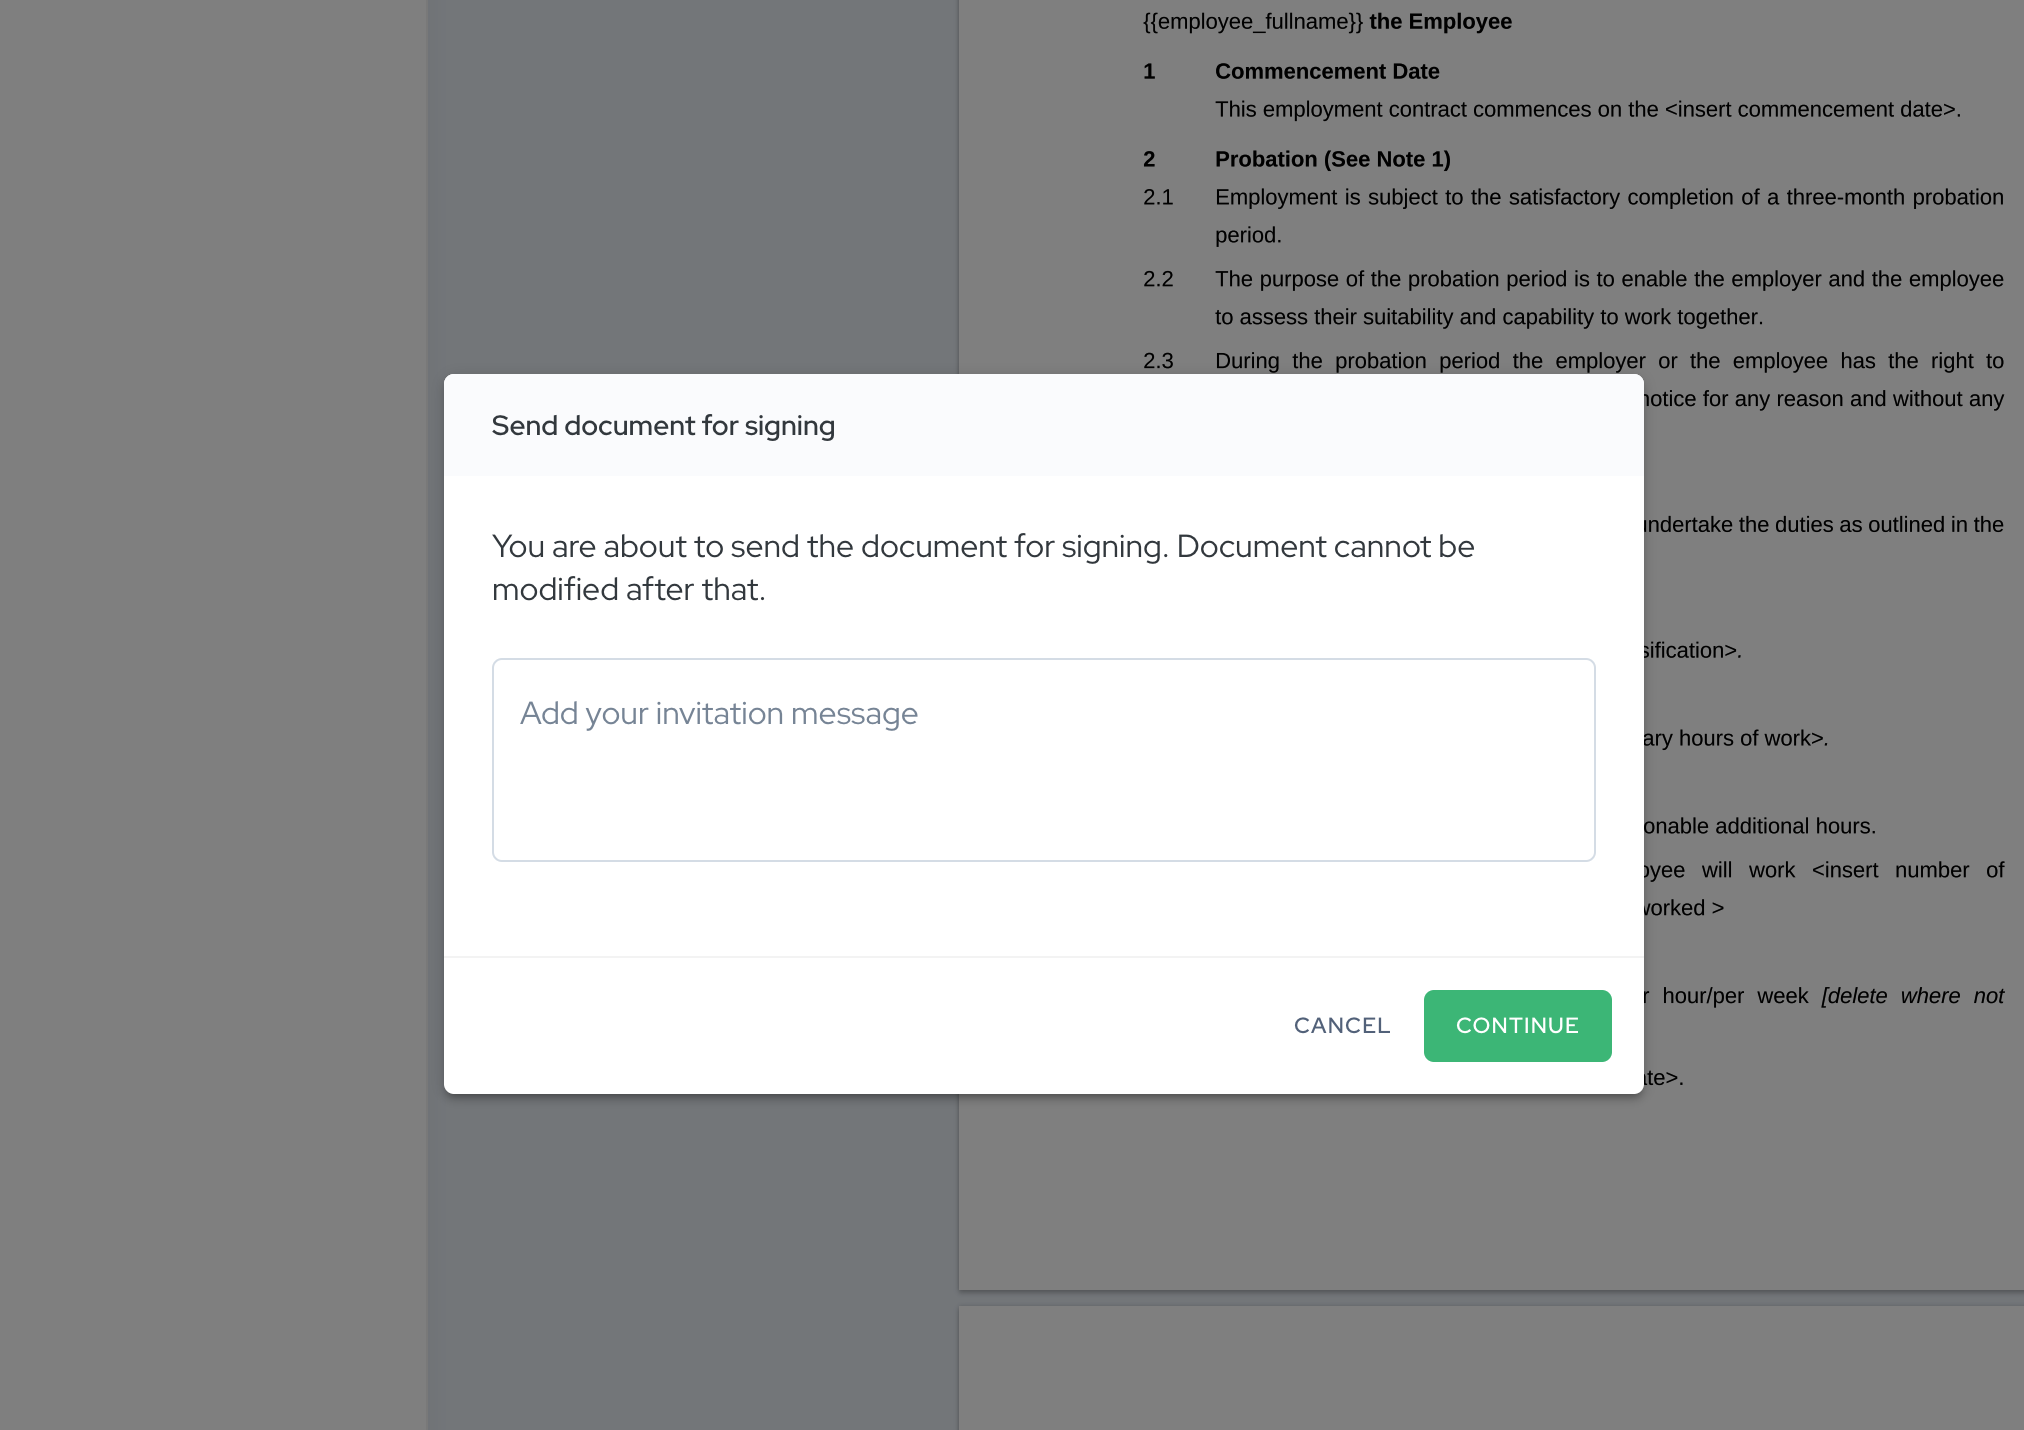
When you have finished adding signature fields and signers, click the green "Send for signing" button. This will send out invitations to all the parties you have added.
You can add a custom note, which will appear in the email invite, before you send the document out.
That's it! Your document has now been sent out for the parties to sign.

